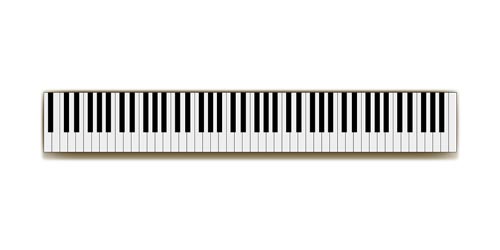
Piano Keys Image
1. Enlarged to fill width.
2. Distored using the Liquify Feature & Twirl Clockwise tool.
3. Set layer position above Carmen, Ryan, & Emma images.
4. Set layer opacity 60% for transparency effect.
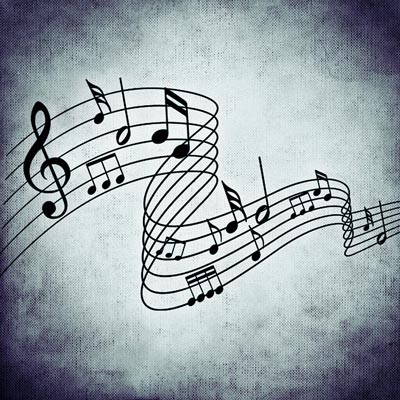
Music Notes Image
1. Resized image to fill width.
2. Cropped out background w/ Polygonnal Lasso, Magic Wand & Eraser Tools.
3. Colored White & Added Layer style Drop Shadow.
4. Set layer opacity 75% for transparency effect.
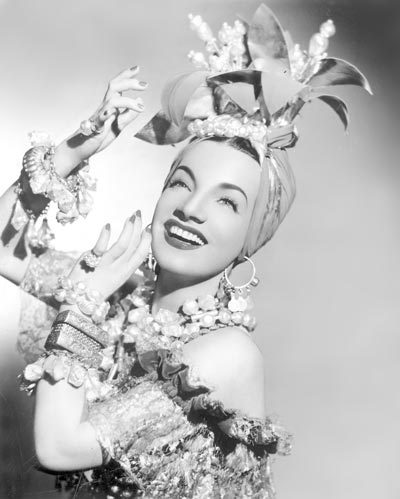
Carmen Miranda Image
1. Edit/Transform/Scale & Rotate to Enlarge & Position photo.
2. Used Levels adjustment layer to add Contrast/Darken.
3. Change Grayscale mode to RGB mode.
4. Quick mask selection to delete background.
5. Colorize Grayscale photo:
6 Layer Adjustments, to Colorize with Hue/Saturation, using Layer Masks with various sized Brush Tips
to create the Skin Tone, the Nails, the Hair, the Eyes, the Gold Color on the Hat, Dress, Earrings, Necklace,
and finally the Red Color on the Hat, Dress, and Lips.
Added an additional layer to add Shading and Details using the Paint Brush Tool.
6. Used the Smudge Tool and Dodge Tool on part of clothing.
7. Added a Drop Shadow.

Ryan Gosling Image
1. Edit/Transform/Scale to Enlarge photo.
2. Quick mask selection to delete background.
3. Adjusted Color Tone with Curves.
4. Added a Drop Shadow.
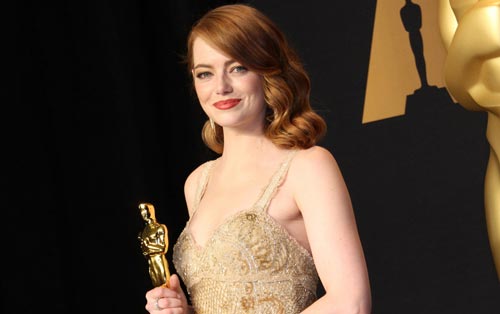
Emma Stone Image
1. Edit/Transform/Scale to Enlarge photo.
2. Quick mask selection to delete background.
3. Adjusted Color Tone with Curves.
4. Added a Filter Sharpen/Unsharp Mask.
5. Added a Drop Shadow.
Title:
1. Font, Broadway, 72 pt.2. Filter, Drop Shadow, Stroke.
3. Duplicate Layer.
4. Rasterize Type.
5. Clipping Mask with Gold Gradient.
6. Edit, Transform, Perspective.
7. Scale with Bounding Box.
8. Create Layer Group for Title and Color Code Green.
Piano Keys:
1. Filter, Liquify, Twirl.2. Layer Opacity 60%.
Music Notes:
1. Edit/Transform/Scale to Enlarge photo.2. Eraser Tool to remove background.
3. Layer Opacity 75%.
Actors Names:
1. Font, AR Bonnie, 48 pt.2. Filter, Outer Glow.
3. Create Layer Group for Title and Color Code Yellow.
Date:
1. Font, Broadway, 48 pt.2. Filter, Outer Glow.
3. Created a Faded Effect.
Background:
1. Radial Blue Gradient.2. Filter Gallery/Texturizer/Grain.